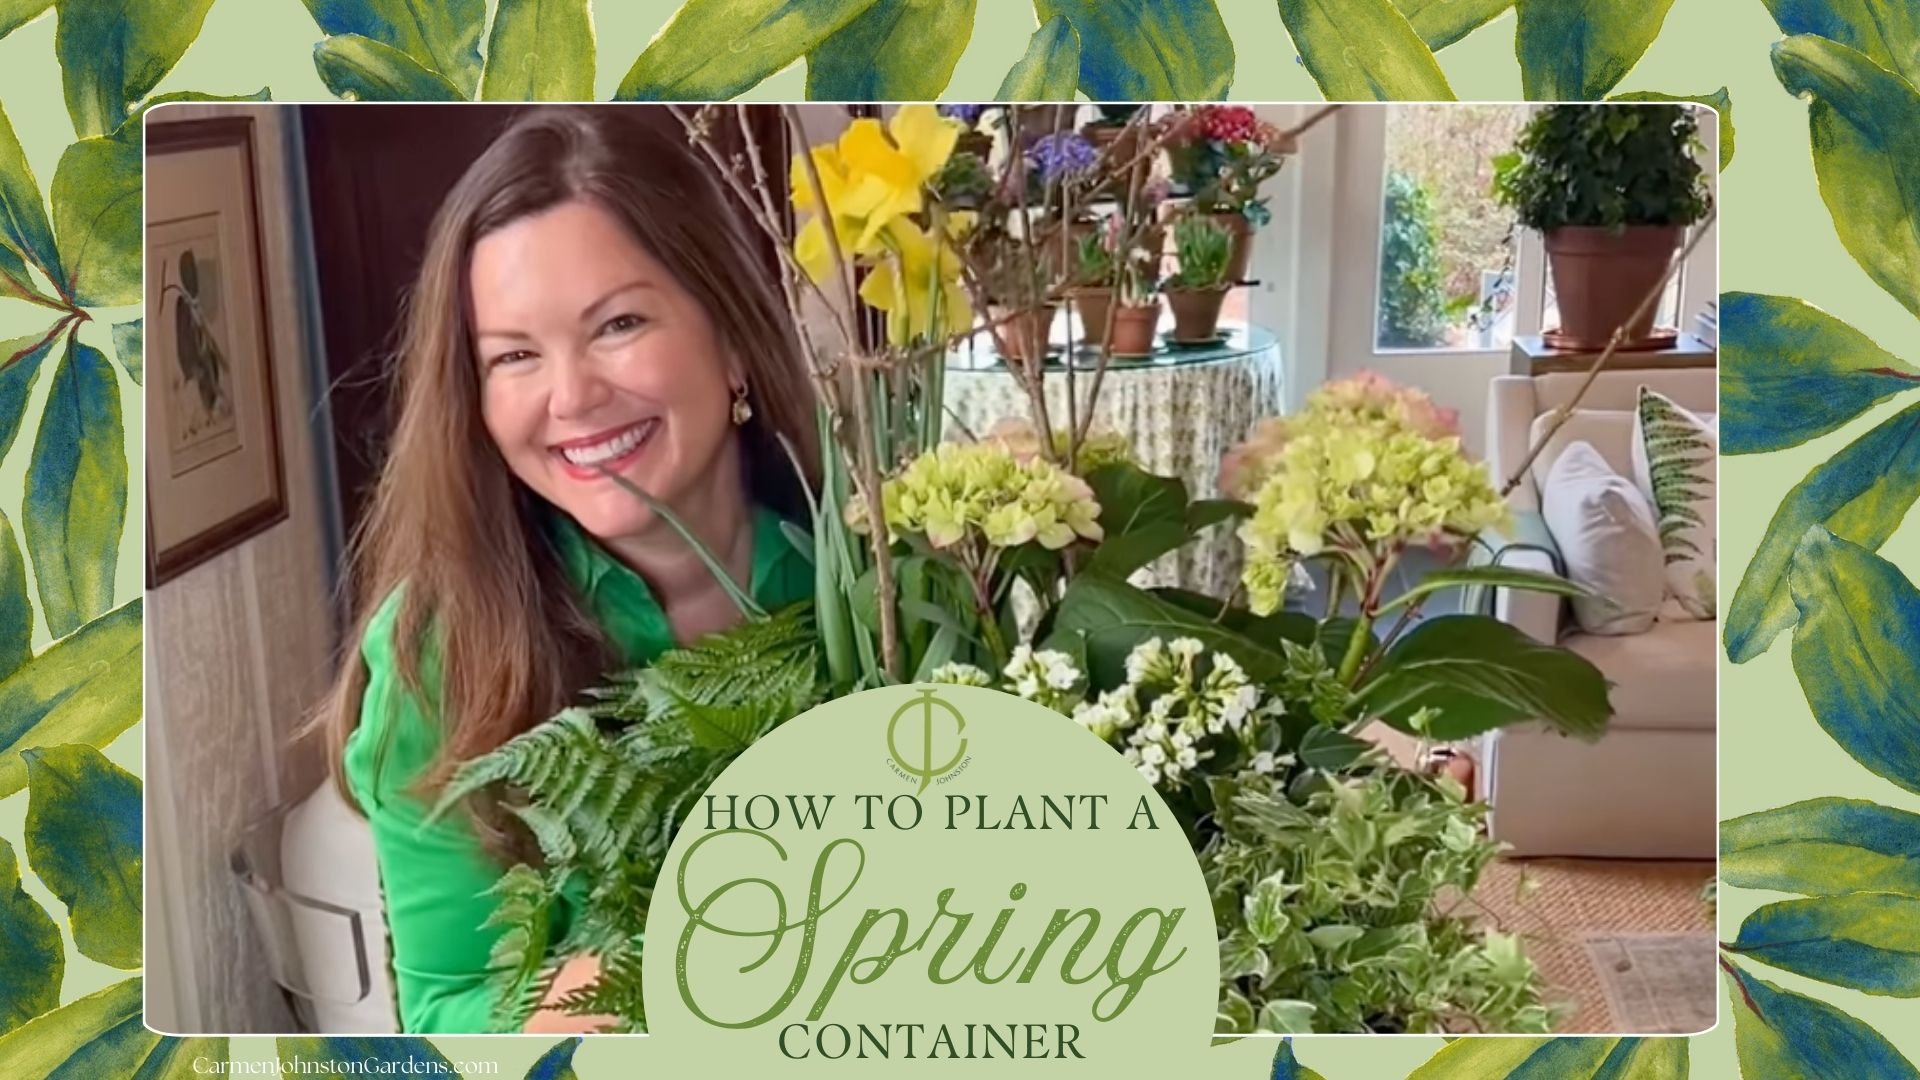
How to Plant a Spring Container
Earlier this month, I had the absolute joy of sharing my tablescapes at the Columbia Garden Club Spring Symposium, and today, I’m thrilled to share the entire video of that event so you can watch it at home!
In the video, I share more about my personal background and how I got started in the gardening world—including what Tommy and I promised each other when we got married, and LOTS more.
In the second part of the video, I share my Gardens of the World Tablescapes and explore exquisite table designs inspired by global gardens, featuring Herend china curated by my dear friend Natalie from Smith’s of Dublin.
And finally, I shared my very best tips for planting a stunning spring container (you know I love a good container garden!). You can watch me plant a spring basket on stage, showing you a live step-by-step of how I like to plant my containers. It was so fun!💚. Click the Youtube video to watch!
If you’re here to learn how to plant a spring container, skip to the 38 minute mark in the video where I show you exactly how to plant your containers and keep reading for my ten steps!
TEN StepS to planting a spring container
Nothing says spring like a gorgeous container garden! Here’s how to create one that’s bursting with color and charm:
Start with a Unique Container: I love using baskets for a rustic vibe, but any pretty container will do!
Line It Up: Use a thick black contractor garbage bag to hold everything in, and cut a few drainage holes in the bottom.
Layer for Drainage: Fill the bottom with natural bark (no dyed mulch, please!) to keep it lightweight and well-draining.
Add Quality Soil: Top it off with a high-quality potting mix—your plants will thank you!
Remember the Three T’s: Aim for something Tall, something Thick, and something Trailing for a balanced look.
Soak Your Plants: Before planting, dunk every plant in a five-gallon bucket of water until they’re completely soaked through.
Pancake Method: After saturating the soil, squish it like a pancake to compact the roots so you can stuff-n-shove more plants.
Plant in a Triangle: Place your tall plant at the top point and fill in the bottom two points with trailing and thick plants.
Give ‘Em a Tilt: Angle your plants outward for a fuller, more dramatic look.
Water Well: Keep your container hydrated, and use a moisture meter to know exactly when to water.
Bonus tip: Add forced branches like forsythia for extra height and a touch of spring magic!
How to Water an Indoor Container
To keep your container happy and hydrated, use a watering can to give it a deep, thorough soak. If the weather’s nice, take it outside to dry out before bringing it back in. Or, for an easy indoor solution, place it on a stylish copper boot tray to catch any overflow—it’s practical and pretty!
What is the best fertilizer for containers?
The best fertilizer for containers, in my opinion, is Nelson’s Color Star fertilizer. Here is a video of how I fertilize my containers.
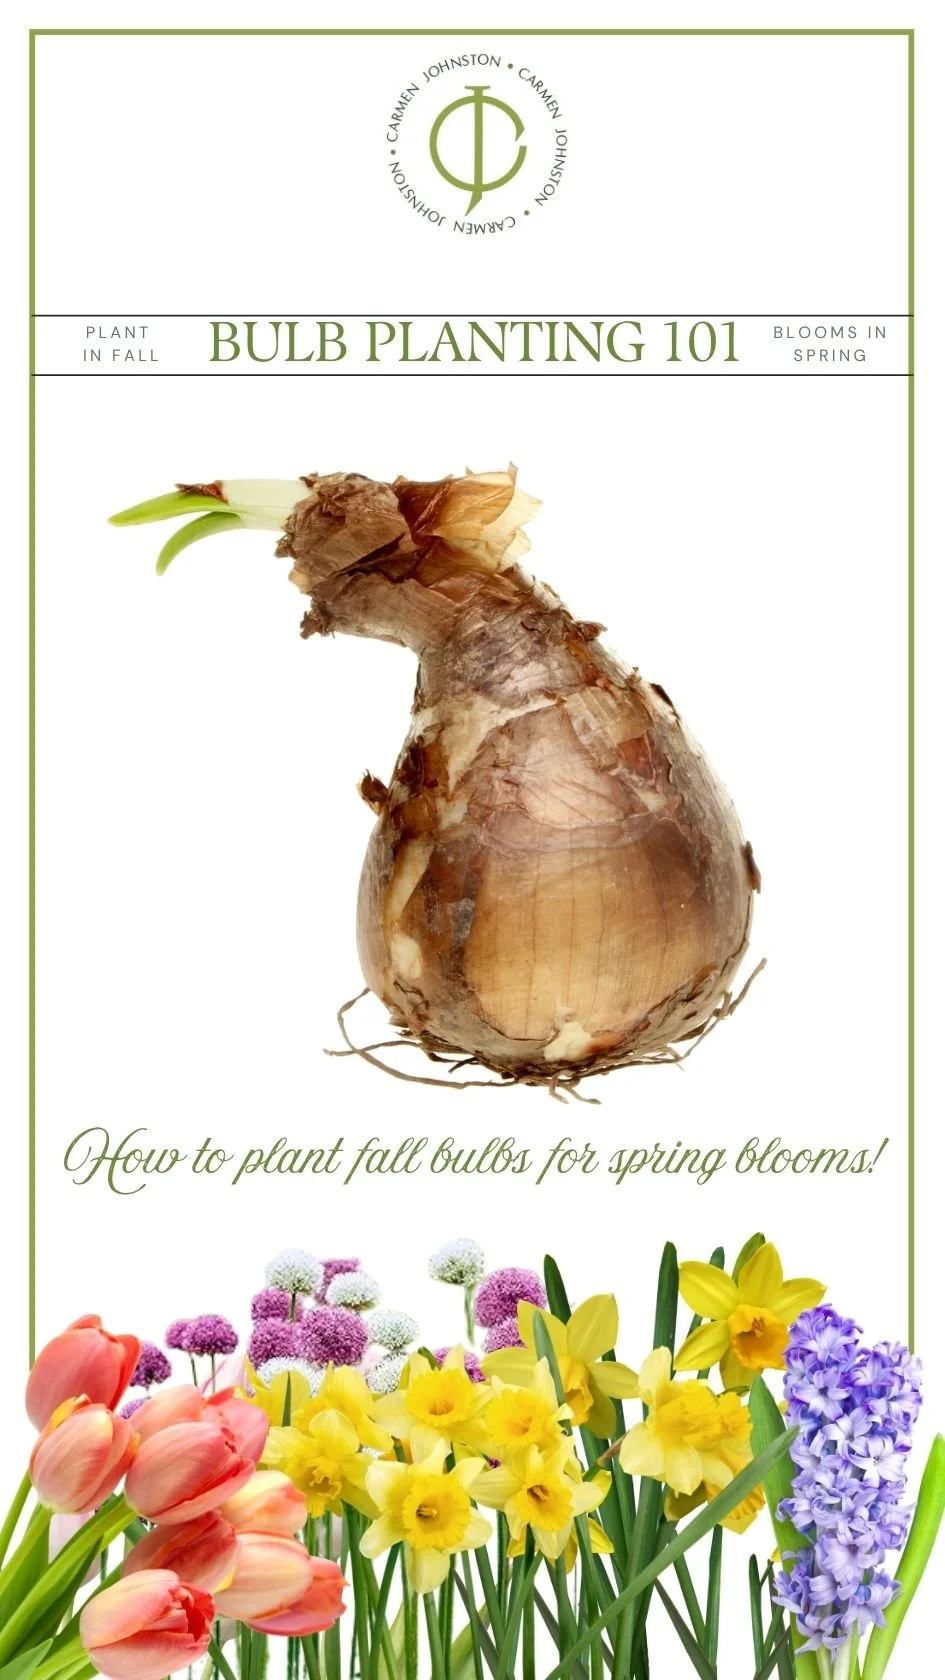
Can I replant bulbs and other plants from containers?
Don’t toss those spent container plants after they are done! Once they’ve finished blooming, you can move any bulbs or perennials out to your garden and replant them. With a little love, they’ll come back year after year, giving you even more blooms to enjoy! It’s like a gift that keeps on giving.
When to plant spring containers?
The best time to plant them is 6-8 weeks before your last frost date. Click here to find your last frost date. This gives your plants a chance to establish roots and bloom just as the weather warms up. If you’re in a warmer climate, you can start even earlier—just keep an eye on those nighttime temps and have frost protection handy just in case.
What do you put in the bottom of a plant container?
For better drainage and to keep things lightweight, I like to use natural bark chips. Avoid dyed mulch or gravel—they can hold too much moisture and cause root rot. Then, top it off with a high-quality potting mix, and you’re ready to plant!
Get Your Free Garden Spring Cleaning Guide:


Shop my Amazon Favorites!
Shop my Amazon storefront for chic + practical finds to pretty up your home inside and out! Every pick is personally bought and tested by me—no false advertising, just fabulous finds you can trust!